一、修改操作系统核心参数
在Root用户下执行以下步骤:
1)修改用户的SHELL的限制,修改/etc/security/limits.conf文件
输入命令:vi /etc/security/limits.conf,按i键进入编辑模式,将下列内容加入该文件。
oracle soft nproc 2047

oracle hard nproc 16384

oracle soft nofile 1024

oracle hard nofile 65536
编辑完成后按Esc键,输入“:wq”存盘退出
2)修改/etc/pam.d/login 文件,输入命令:vi /etc/pam.d/login,按i键进入编辑模式,将下列内容加入该文件。
session required /lib/security/pam_limits.so

session required pam_limits.so
编辑完成后按Esc键,输入“:wq”存盘退出
3)修改linux内核,修改/etc/sysctl.conf文件,输入命令: vi /etc/sysctl.conf ,按i键进入编辑模式,将下列内容加入该文件
fs.file-max = 6815744

fs.aio-max-nr = 1048576

kernel.shmall = 2097152

kernel.shmmax = 2147483648

kernel.shmmni = 4096

kernel.sem = 250 32000 100 128

net.ipv4.ip_local_port_range = 9000 65500

net.core.rmem_default = 4194304

net.core.rmem_max = 4194304

net.core.wmem_default = 262144

net.core.wmem_max = 1048576
编辑完成后按Esc键,输入“:wq”存盘退出
4)要使 /etc/sysctl.conf 更改立即生效,执行以下命令。 输入:sysctl -p 显示如下:
linux:~ # sysctl -p

net.ipv4.icmp_echo_ignore_broadcasts = 1

net.ipv4.conf.all.rp_filter = 1

fs.file-max = 6815744

fs.aio-max-nr = 1048576

kernel.shmall = 2097152

kernel.shmmax = 2147483648

kernel.shmmni = 4096

kernel.sem = 250 32000 100 128

net.ipv4.ip_local_port_range = 9000 65500

net.core.rmem_default = 4194304

net.core.rmem_max = 4194304

net.core.wmem_default = 262144

net.core.wmem_max = 1048576
5)编辑 /etc/profile ,输入命令:vi /etc/profile,按i键进入编辑模式,将下列内容加入该文件。
if [ $USER = "oracle" ]; then

if [ $SHELL = "/bin/ksh" ]; then

ulimit -p 16384

ulimit -n 65536

else

ulimit -u 16384 -n 65536

fi

fi
编辑完成后按Esc键,输入“:wq”存盘退出
6)创建相关用户和组,作为软件安装和支持组的拥有者。
创建Oracle用户和密码,输入命令:
useradd -g oinstall -g dba -m oracle

passwd oracle
然后会让你输入密码,密码任意输入2次,但必须保持一致,回车确认。
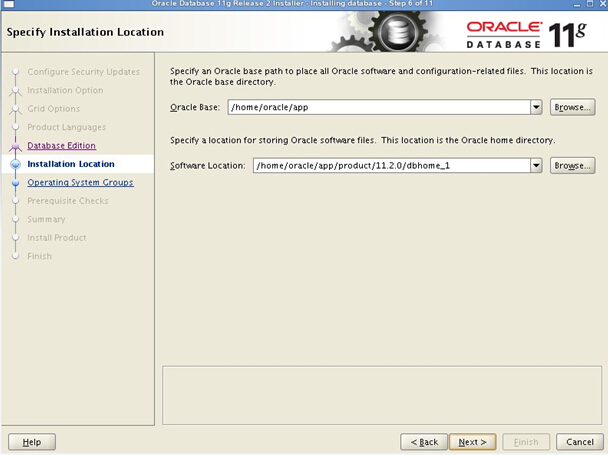
7)创建数据库软件目录和数据文件存放目录,目录的位置,根据自己的情况来定,注意磁盘空间即可,这里我把其放到oracle用户下,例如:
输入命令:
mkdir /home/oracle/app

mkdir /home/oracle/app/oracle

mkdir /home/oracle/app/oradata

mkdir /home/oracle/app/oracle/product
8)更改目录属主为Oracle用户所有,输入命令:
chown -R oracle:oinstall /home/oracle/app
9)配置oracle用户的环境变量,首先,切换到新创建的oracle用户下,
输入:su – oracle ,然后直接在输入 : vi .bash_profile
按i编辑 .bash_profile,进入编辑模式,增加以下内容:
export ORACLE_BASE=/home/oracle/app

export ORACLE_HOME=$ORACLE_BASE/oracle/product/11.2.0/dbhome_1

export ORACLE_SID=orcl

export PATH=$PATH:$HOME/bin:$ORACLE_HOME/bin

export LD_LIBRARY_PATH=$ORACLE_HOME/lib:/usr/lib
编辑完成后按Esc键,输入“:wq”存盘退出
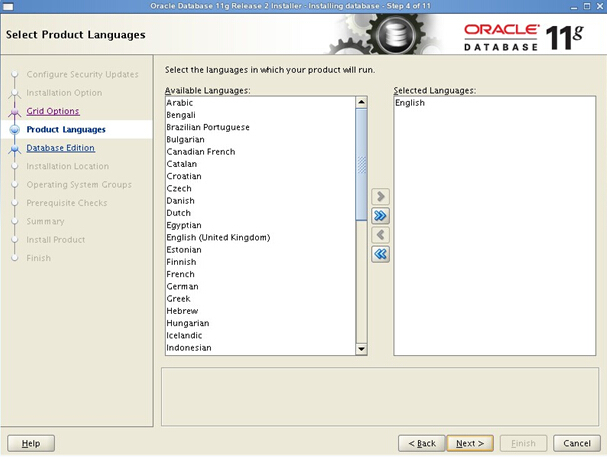
二、安装过程
1)当上述系统要求操作全部完成后,注销系统,在图形界面以Oracle用户登陆。首先将下载的Oracle安装包复制到linux中,用SSH其他ftp工具拷贝。
打开一个终端,运行unzip命令解压oracle安装文件,如:
输入命令:
unzip linux.x64_11gR2_database_1of2.zip

unzip linux.x64_11gR2_database_2of2.zip
解压完成后 cd 进入其解压后的目录database
输入命令:
cd database
使用ls命令可以查看解压后database所包含的文件,如下图:
![]()
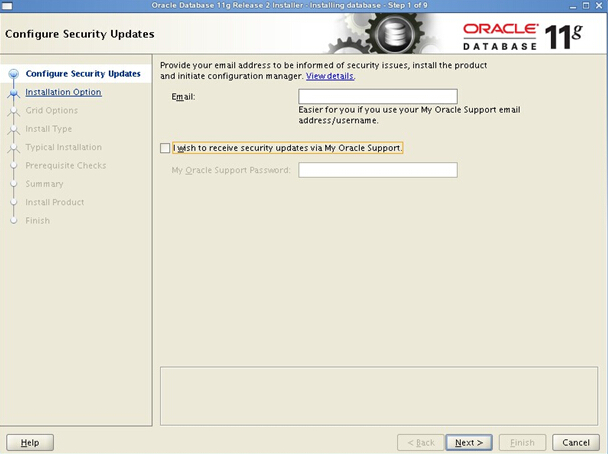
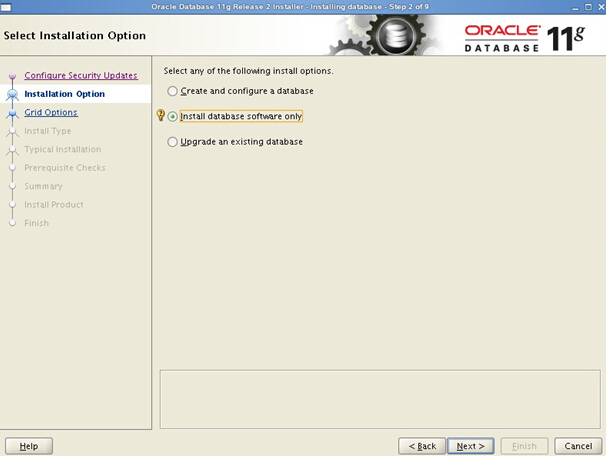
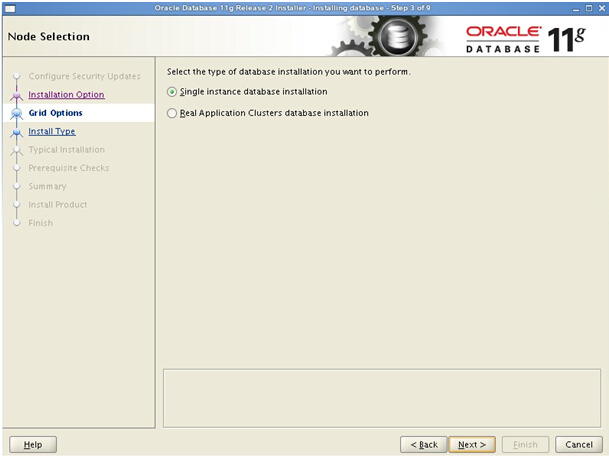
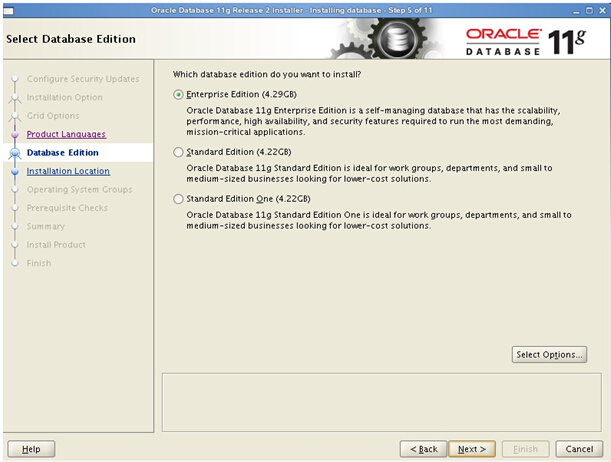
2)执行安装,输入命令:./runInstaller
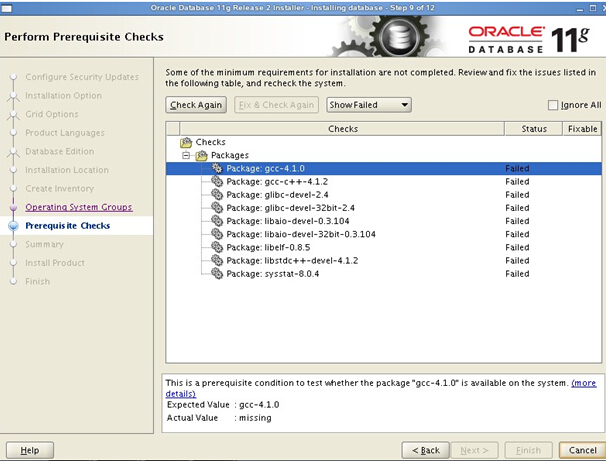
装到这一步,可以看到,可以查看到有很多的rpm包没有,我们可以从安装linux的光盘或ISO中(或去D:\linux_oracle11g_Package)查找所缺的包,使用ftp上传到linux中,然后使用rpm –ivh xxx.rpm –nodeps –force 来进行安装(其中加上–nodeps — force 代表强制安装,是在直接使用rpm –ivh xxx.rpm安装不成功的情况下用的)等到把包全部都安装好的情况下,再次在oracle图形界面中,执行安装过程2,下来在环境检查过程中,就通过了。
安装过程中86%可能会遇到报错如出错问题(error in invoking target \\’mkldflags ntcontab.o nnfgt.o\\’ of makefile)按照如下步骤顺序执行。
上传安装镜像rhel-server-6.1-x86_64-dvd.iso,
然后将镜像文件挂,如/mnt
# mount -o loop rhel-server-6.1-x86_64-dvd.iso /mnt

# cd /mnt/Packages

# rpm -ivh glibc-common-2.12-1.25.el6.x86_64.rpm

# rpm -ivh kernel-headers-2.6.32-131.0.15.el6.x86_64.rpm

# rpm -ivh libgcc-4.4.5-6.el6.x86_64.rpm

# rpm -ivh glibc-2.12-1.25.el6.x86_64.rpm

# rpm -ivh libgomp-4.4.5-6.el6.x86_64.rpm

# rpm -ivh nscd-2.12-1.25.el6.x86_64.rpm

# rpm -ivh glibc-headers-2.12-1.25.el6.x86_64.rpm

# rpm -ivh glibc-devel-2.12-1.25.el6.x86_64.rpm

# rpm -ivh mpfr-2.4.1-6.el6.x86_64.rpm

# rpm -ivh ppl-0.10.2-11.el6.x86_64.rpm

# rpm -ivh cloog-ppl-0.15.7-1.2.el6.x86_64.rpm

# rpm -ivh cpp-4.4.5-6.el6.x86_64.rpm

# rpm -ivh gcc-4.4.5-6.el6.x86_64.rpm
注:以上是安装gcc,软件安装顺序不能错。
******************************************

# rpm -ivh libstdc  -4.4.5-6.el6.x86_64.rpm

# rpm -ivh libstdc  -devel-4.4.5-6.el6.x86_64.rpm

# rpm -ivh gcc-c  -4.4.5-6.el6.x86_64.rpm
注:以上是安装gcc-c
根据这个方法解决了错误。
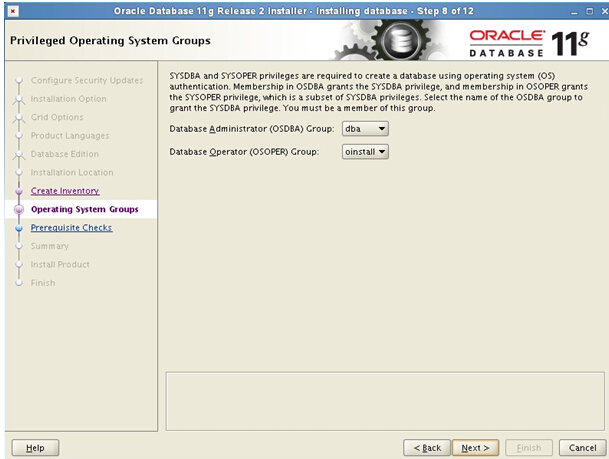
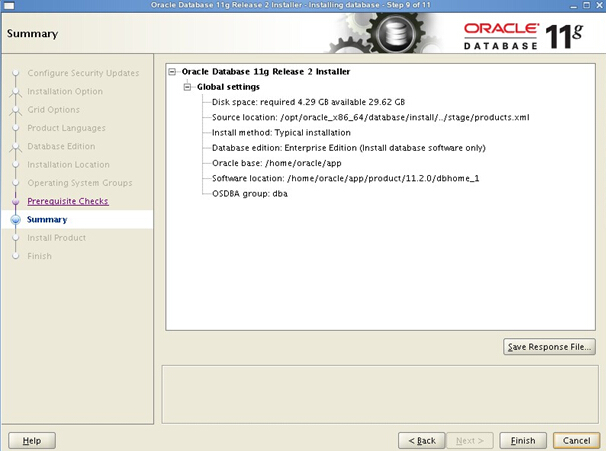
安装完成后,系统会提示你需要用root权限执行2个shell脚本。按照其提示的路径,找到其所在的位置,如:我的就在/home/oracle/app/oracle/product/11.2.0/dbhome_1/root.sh
和 /home/oracle/oraInventory/orainstRoot.sh 新开启一个终端,输入命令:
su – root

cd /home/oracle/app/oracle/product/11.2.0/dbhome_1

sh root.sh

cd /home/oracle/oraInventory

sh orainstRoot.sh
三、数据库建库
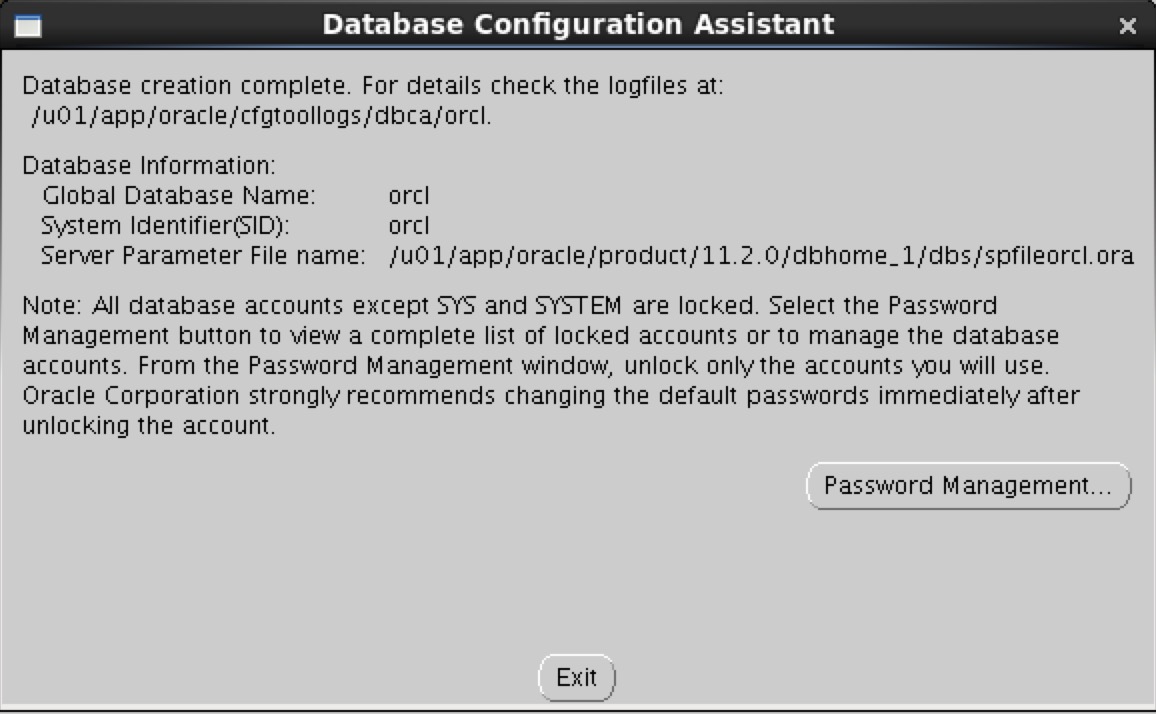
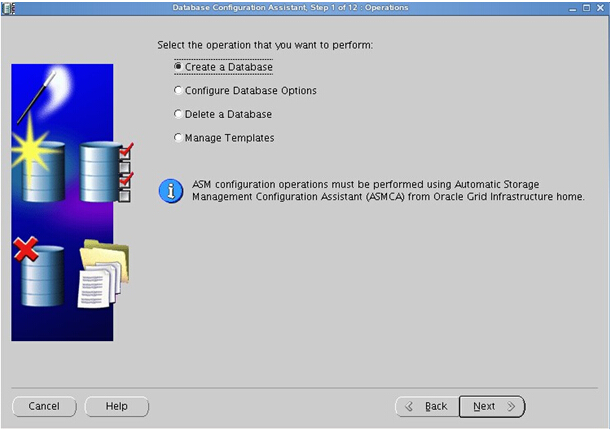
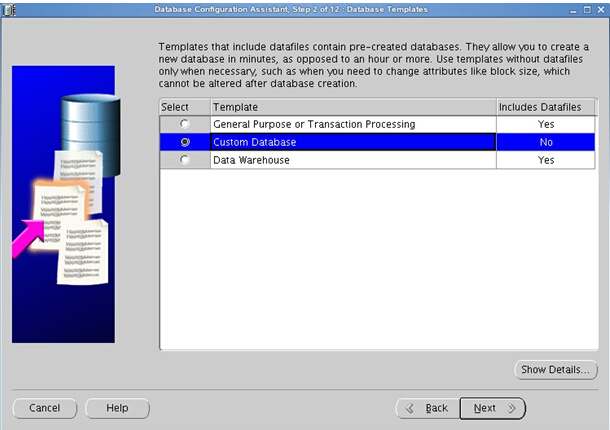
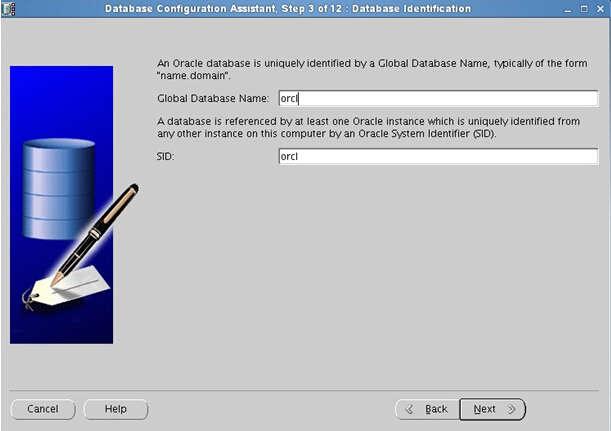
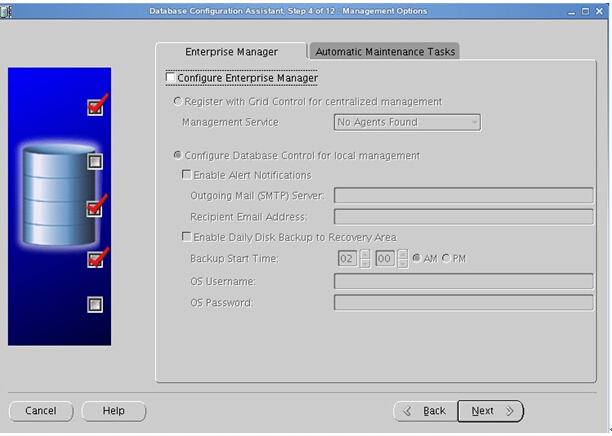
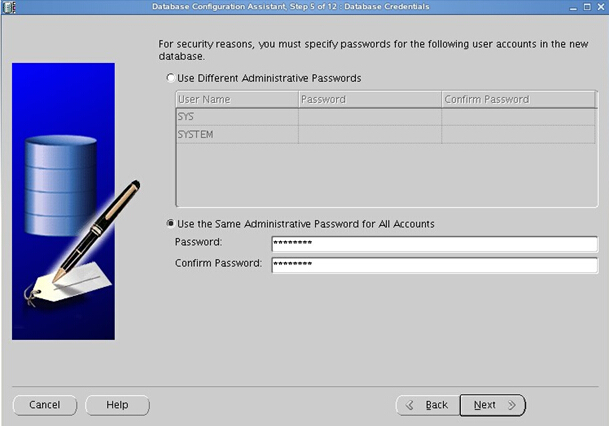
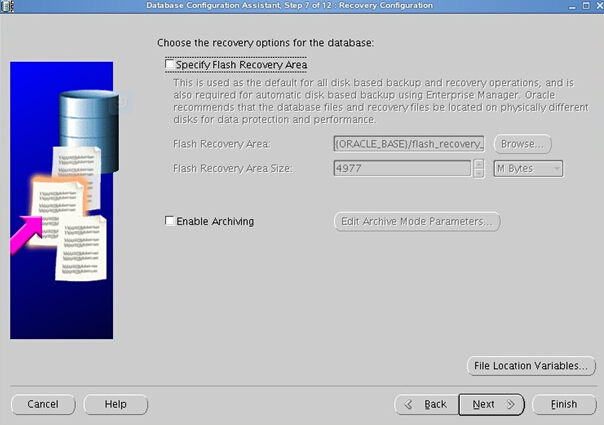
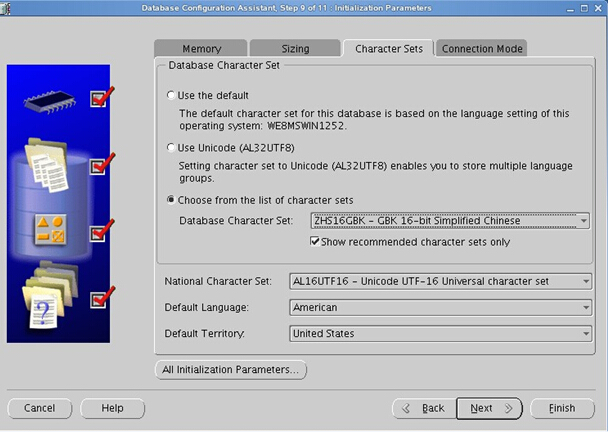
1) 还是在oracle用户的图形界面oracle用户中,新开启一个终端,直接输入命令dbca会弹出如下界面。我们这里采用定制数据库。


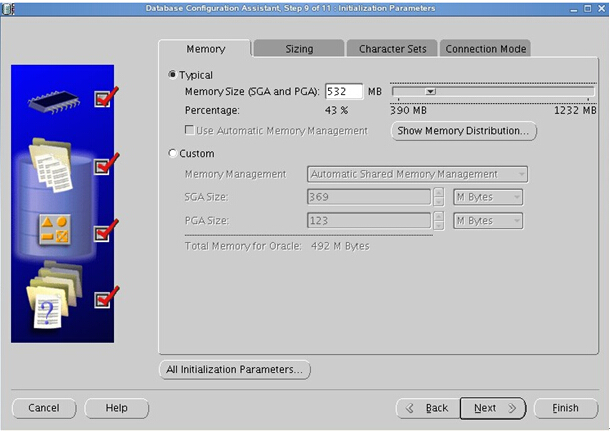

经过漫长的等待,当看到此界面,说明oracle建库完成
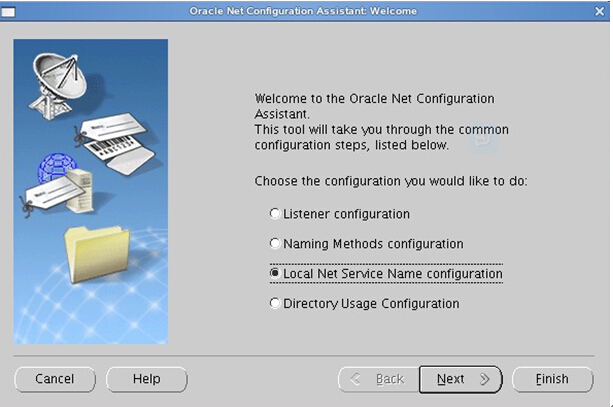
四、配置监听及本地网络服务
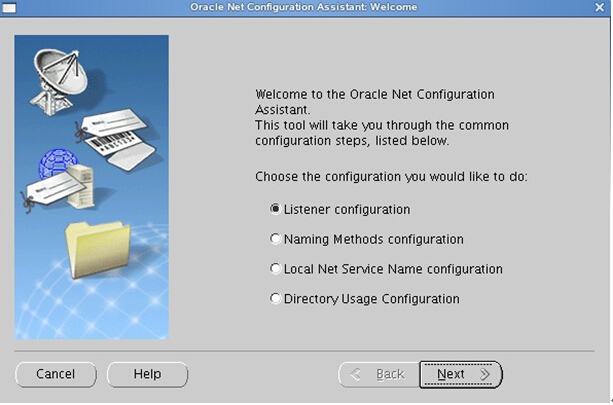
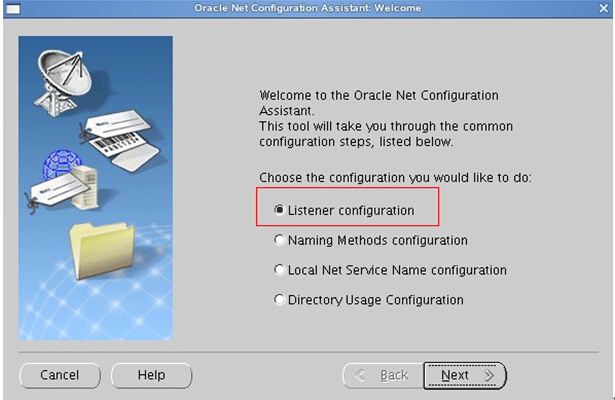
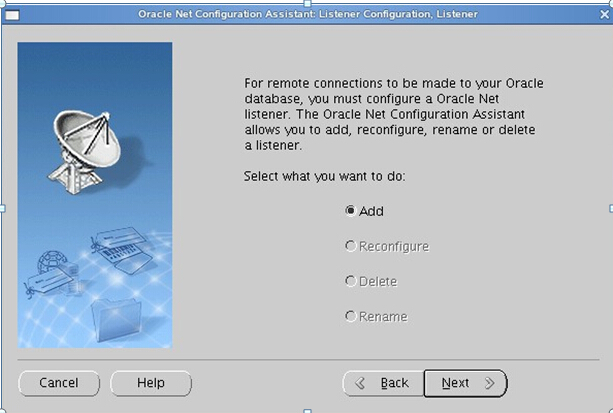
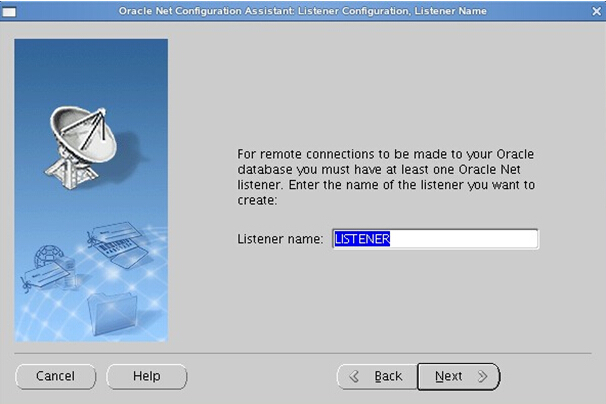
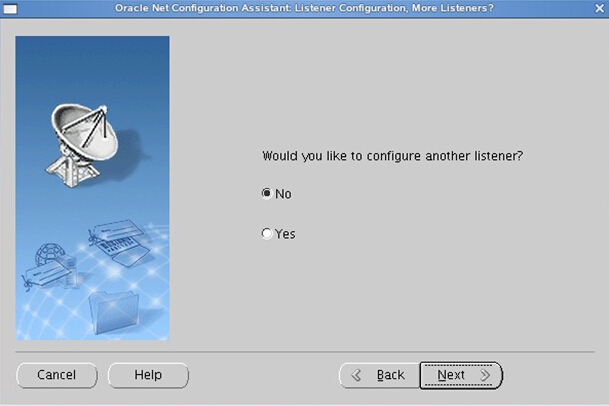
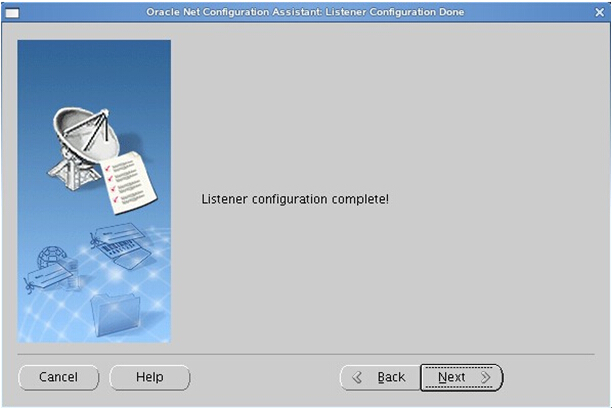
1)在oracle用户的图形界面oracle用户中,新开启一个终端,输入命令netca 会弹出如下界面。
2)创建监听服务(充当oracle服务器,让别的oracle客户端连接本oracle服务器)

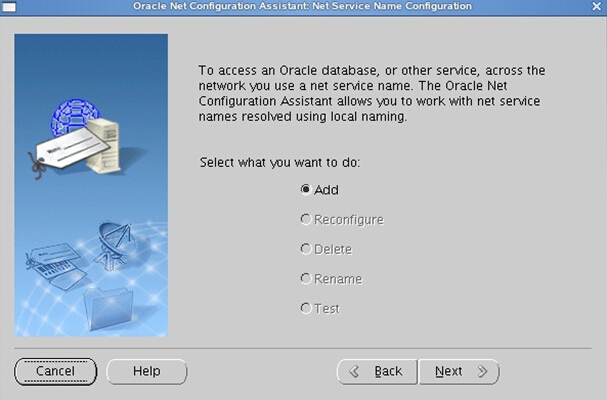
3) 配置本地网络服务名(充当oracle客户端,连接别的oracle服务器)
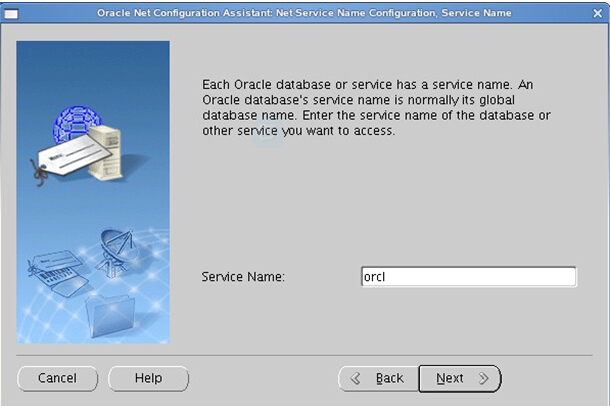
输入连接的oracle服务器的数据库的实例名
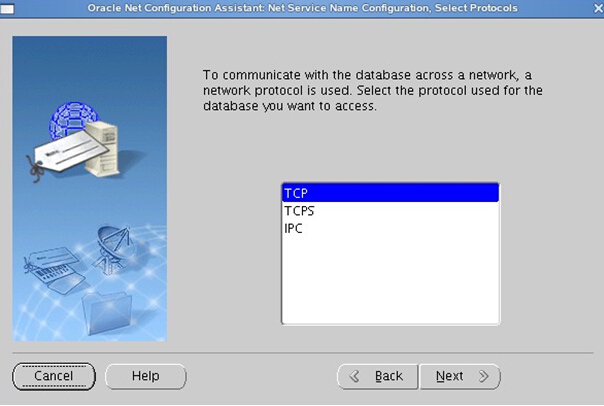
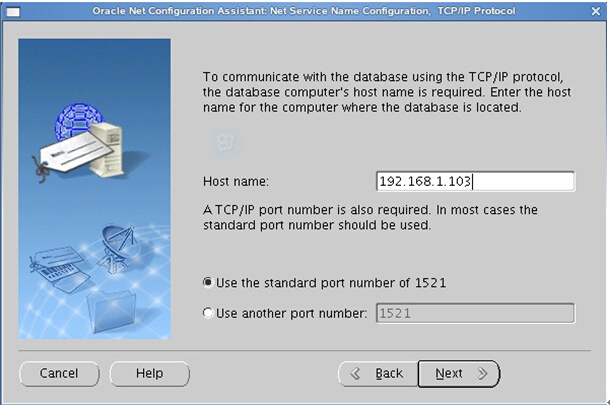
输入oracle服务器的ip地址
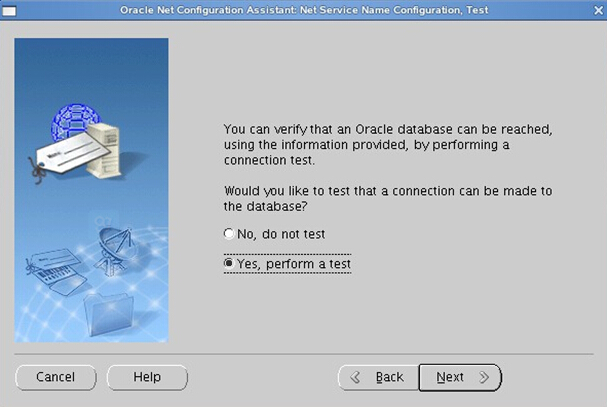
选中YES测试
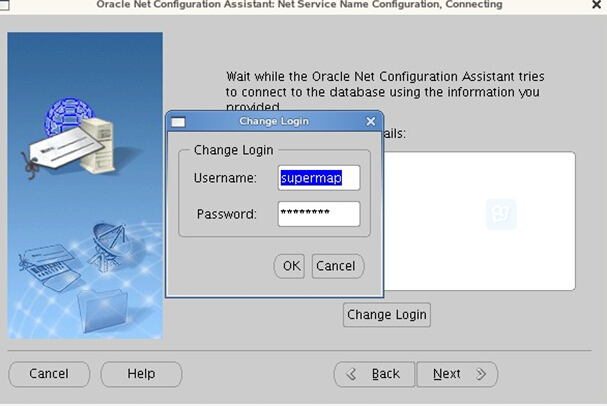
点击change Login 输入所连接oracle服务器的其中某一个用户名和密码(用户名oracle和设置的密码),点击OK
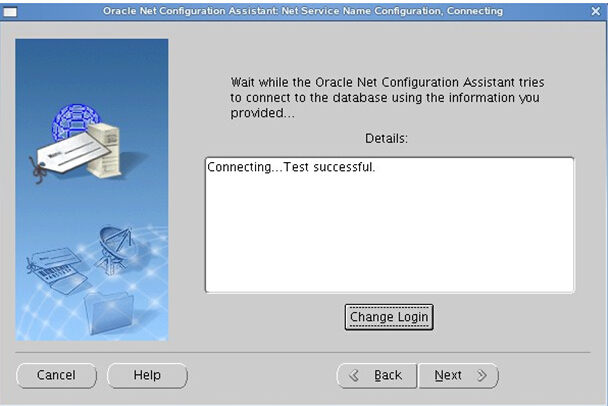
看到此界面说明测试成功(如果不成功,请查看网络是否畅通,所连接的oracle服务器是否启动,监听是否启动等原因)
为你所设置的本地网络服务名起个名字
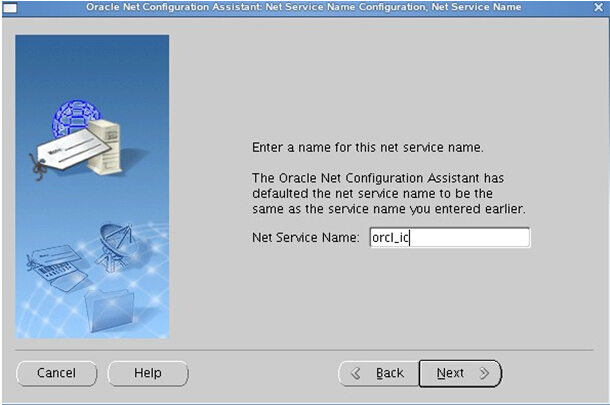
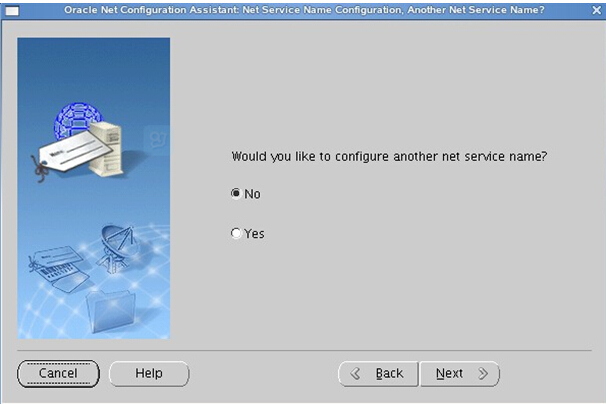
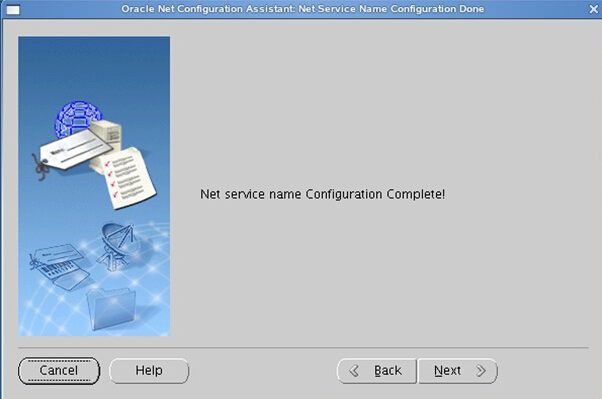
这样oracle服务器安装配置基本就完成了
注意:
1、Linux oracle数据库listener.ora存放路径
cd /home/oracle/app/oracle/product/11.2.0/dbhome_1/network/admin/listener.ora
2、Linux oracle数据库tnsnames.ora存放路径
cd /home/oracle/app/oracle/product/11.2.0/dbhome_1/network/admin/tnsnames.ora
3、ORACLE启动监听器
(1)切换至oracle安装用户(一般为oracle)
su – oracle
(2)启动监听器
lsnrctl start
(3)停止监听器
lsnrctl stop
4、启动测试oracle:
[oracle@oracle ~]$ sqlplus /nolog
SQL*Plus: Release 11.2.0.1.0 Production on Fri Jul 27 02:12:12 2012
Copyright (c) 1982, 2009, Oracle. All rights reserved.
SQL> quit
测试的另一种方法:找一台windows平台电脑,telnet oracle主机IP地址:1521,通的话,会出现一个黑屏,光标一闪一闪。
5、Linux开放1521端口允许网络连接Oracle Listener
症状:
(1)TCP/IP连接是通的。可以用ping 命令测试。
(2)服务器上Oracle Listener已经启动。
lsnrctl status 查看listener状态
lsnrctl start 启动Oracle listener
(3)客户端得到的错误信息通常是:ORA-12170: TNS:连接超时
这时,我们基本可以肯定是服务器没有开放1521端口(假设你用默认设置)
解决方法:
(1)假如你是在一个局域网环境,配置了防火墙。那么可以关闭Linux的防火墙。
sudo service iptables stop
(2)编辑iptables, 开放1521端口:
sudo vi /etc/sysconfig/iptables
-A INPUT -p tcp -m state –state NEW -m tcp –dport 1521 -j ACCEPT
:wq
重启防火墙
sudo service iptables restart
保存配置,以便linux重启后依然有效
sudo service iptables save
查看防火墙规则:
sudo iptables -L –n
6、linux下创建oracle用户表空间
就是在已有的数据库实例上创建一个新的帐号,访问一些新的表
操作步骤如下:
(1)登录linux,以oracle用户登录(如果是root用户登录的,登录后用 su – oracle命令切换成oracle用户)
(2)以sysdba方式来打开sqlplus,命令如下: sqlplus “/as sysdba”
(3)查看我们常规将用户表空间放置位置:执行如下sql:
select name from v$datafile
(4)创建用户表空间:
CREATE TABLESPACE NOTIFYDB DATAFILE \\’/home/oracle/app/oradata/orcl/scsdb.dbf\\’ SIZE 200M AUTOEXTEND ON EXTENT MANAGEMENT LOCAL SEGMENT SPACE MANAGEMENT AUTO;
(5)创建用户,指定密码和上边创建的用户表空间
CREATE USER scs IDENTIFIED BY scs DEFAULT TABLESPACE NOTIFYDB;
(6)赋予权限
grant connect,resource to scs;
grant unlimited tablespace to scs;
grant create database link to scs;
grant select any sequence,create materialized view to scs;
–经过以上操作,我们就可以使用scs/scs登录指定的实例,创建我们自己的表了